Coloring Tutorials // Hardcore Basics // Swatching 101
November 2, 2025 by Ajey
Just going over another necessary evil if you plan your art ahead of time to be cohesive. Swatching sets us up for success in the end.
Choose your weapons:
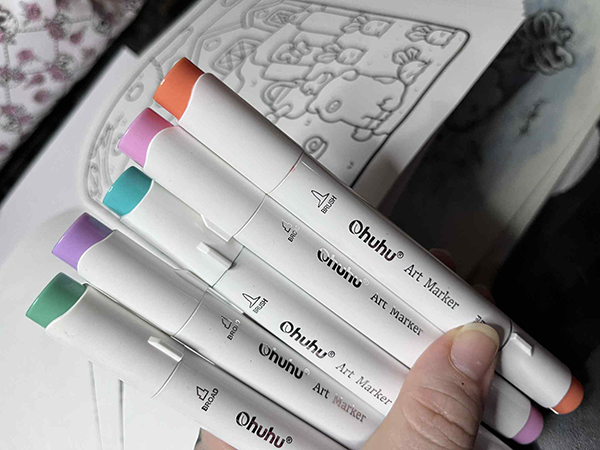
- Alcohol markers — any brand will do. Use all the things.
- Paper that is bleedproof or at least marker friendly. This should be the exact paper you will be using for your project.
Alright! Let’s get into it.
To preface swatching isn’t just to compare pretty colors when you first get your set of markers. It’s also very beneficial to make sure that your color palettes you use in your pieces are cohesive and don’t end up looking crazy. You have to think about all the factors that come into play. Our main factor is when it comes to coloring is the paper we use. Why else would there be a million options to choose from? Alcohol markers behave differently depending on the paper and the rate of absorption in the paper. We also have to consider how different marker brands use different undertones in their ink. Swatching takes away the uncertainty and builds a “color reference” for your brain and makes your blending a little more predictable.
TL;DR: Layer to deepen colors. Papers differ. Markers differ. Plan your project so your don’t **** it up with an impulse decision later.

Say hello to angel she is a sweet baby and loves hair ties and naps in the laundry basket.
Step 1
Now I know with the extensive talk you’re expecting me to whip out some awesome linework, etc, etc. Nah brother we’re just coloring. Consistency and training. Big brain activities. I have pages in this book I have absolutely no interest in completing so they are being used as casualty pages. It’s the coloring book martyrs. I tear them out and cut them into strips to use for swatching if I’m not lazy and just use the margins of the page.

TL;DR: Sacrifice a page. Cut her. Swatch strips to save page margins and keep “professionalism” if you do that kinda thing. Woo.
Step 2
This makes our paper consistent. Now with markers it’s up to you. Sometimes I swatch different brands and mix my media. So far so good and they play well together. I’ve heard things about shuttle markers yellowing but so far no issues with that brand as of today. Today I’m just using all Ohuhu to keep it consistent.
If you don’t use a limited color palette your paper will look much busier than mine.
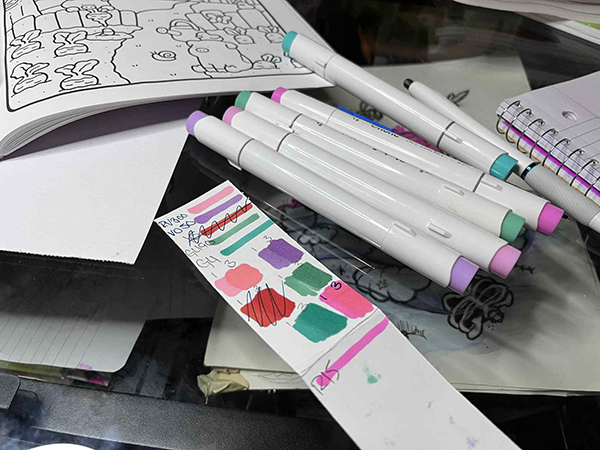
Step 3
If you don’t use a limited color palatte your paper will look much busier than mine. That’s fine. Do your thing. Flip your strip so the lines are on the back. I folded mine in half just to act as a bleed deterrent and prevent pooling of the ink underneath.
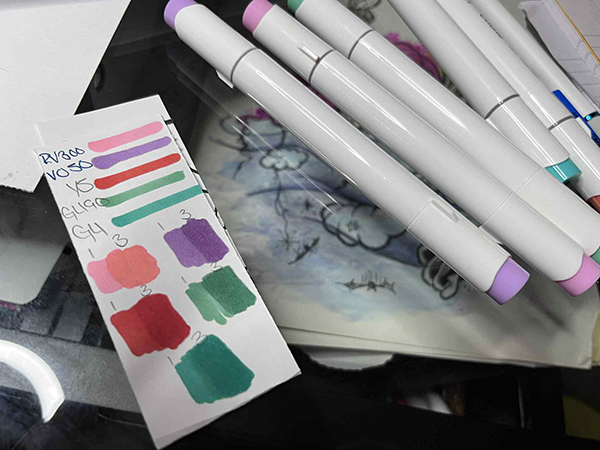
That’s honestly it. You can flip it to practice gradients or blending. The numbers above my boxed sections just represent the number of passes it took to achieve that level of saturation in case i want to add midtones also. If you switch between nibs on your marker be sure to test those as well depending on how you store your markers but this i don’t really stress as much over.
 Welcome to Artopsy.net! I'm Amanda Jean or Ajey. However way you want to spin it and I'm here to share as much knowledge as I can. I mainly do written tutorials so I apologize if you prefer video. It's overstimulating for me personally to create them. Can't focus on the art if I'm spending half my time trying to film it >:[