Coloring Tutorials // Flat Coloring
June 21, 2025 by Ajey
Basic rundown of how to lay clean and even color with alcohol markers using simply layering. Don’t be a freak with streaks~
Choose your weapons:
- Alcohol markers — any brand will do. Use all the things.
- Paper that is bleedproof or at least marker friendly.
- Lineart. (Yours or mine ;*)
- Scrap sheet of paper that is the same as your lineart page.
But why?: Because I said so. Trust me you’ll appreciate this step later. This page is our swatch page as well will help us be able to gauge how many layers we can put on our pages before we overwork the paper or bleed through our “canvas”. You also can use it to practice effects, etc.
Into the thick of it
Step 1: Choose your colors.
Pick your colorscheme for your project. You will want a light/medium/dark combo for each color family typically. I personally enjoy a smaller palette so I ain’t doing all that. I’m using 5 main colors — scheme can be found here.
Tiny Tangent: When I say I use a colorscheme I do not include my neutrals into these. Neutrals in my brain are basic colors such as all eye, hair, skin, varieties unless it’s not natural then i make it a focal point. Control your audience. Make sure your art interests you and chances are it will interest someone else too because hey. You’re fucking cool.
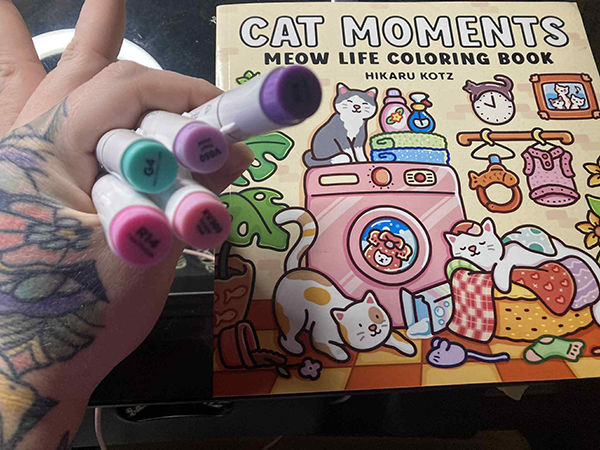
Book Used ♥ Markers Used: Ohuhu Art Markers.
Step 2
Pick your first color. Most people work lightest to darkest because you can always add but it gets harder to fix it the darker you work. I do what I want and with this speed is a factor so I know there will be bleed. I’m not going to stress myself over that. Plus this is a tutorial and resource site so we gonna make this a teaching moment.
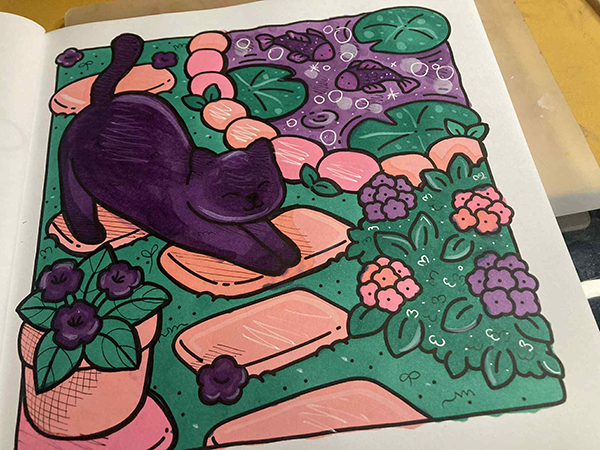
Tiny Tangent:Chase the ink and work fast to keep it wet (that’s what she said) and avoid streaks. RV300: Tender Pink is my lightest shade so it will act as my “white” until highlight time. So I’ll be using it for the tub, the bubbles on the bottle as well as any other accent areas to keep it cohesive and visually weighted across the page.
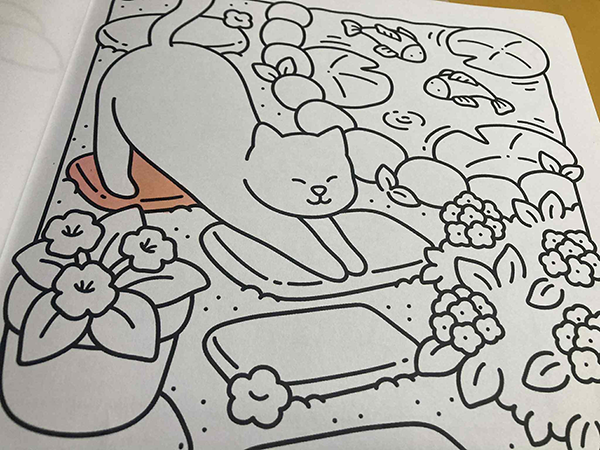
Step 3
While you are just coloring which most of us have done our entire lives we are also using a medium that likes to spread while we layer it on. That’s part of the effect we like because it bleeds and looks seamless. Be sure to work quickly. I usually save my most stressful areas for last unless they’re a focal point or can’t be modified to compensate my mistakes later.
Now work through section by section patiently but as fast as you can. Yes. Contradictions but as you practice you will develop confidence to do this better and more efficiently to your own rhythm. Add your special details and make it your own.
 Welcome to Artopsy.net! I'm Amanda Jean or Ajey. However way you want to spin it and I'm here to share as much knowledge as I can. I mainly do written tutorials so I apologize if you prefer video. It's overstimulating for me personally to create them. Can't focus on the art if I'm spending half my time trying to film it >:[