Coloring Tutorials // Hardcore Basics // Bleedthrough Basics
November 3, 2025 by Ajey
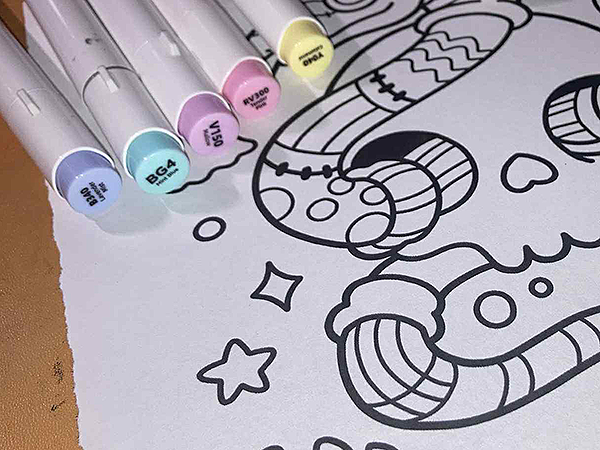
In this tutorial we’re going to be learning why our markers bleed, how to control it and how to use it to your advantage.
Part 1: Umm can you just not do that?!?
So alcohol markers actually work by pushing dye suspended in isopropyl alcohol. Alcohol evaporates fast and that’s why we have to be mindful of time constraints.
|
Things that will just make it worse |
Paper Weight
Coating
Saturation & Layering
Hand Pressure
Color Intensity
|
Thin Paper saturates quickly.
Slow absorption, helps blend but you always risk pooling.
Repeated passes soak all paper fibers completely.
Heavy hand pressure pushes ink deeper.
Darker ink will travel further.
|
Read the full story ♥ →
Coloring Tutorials // Hardcore Basics // Swatching 101
November 2, 2025 by Ajey
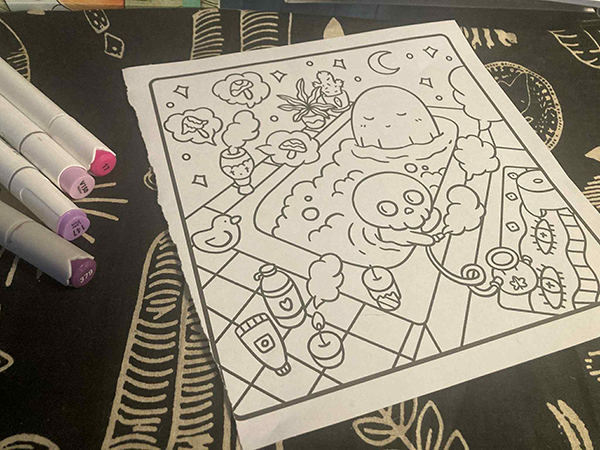
Just going over another necessary evil if you plan your art ahead of time to be cohesive. Swatching sets us up for success in the end.
Choose your weapons:
- Alcohol markers — any brand will do. Use all the things.
- Paper that is bleedproof or at least marker friendly. This should be the exact paper you will be using for your project.
Alright! Let’s get into it.
To preface swatching isn’t just to compare pretty colors when you first get your set of markers. It’s also very beneficial to make sure that your color palettes you use in your pieces are cohesive and don’t end up looking crazy. You have to think about all the factors that come into play. Our main factor is when it comes to coloring is the paper we use. Why else would there be a million options to choose from? Alcohol markers behave differently depending on the paper and the rate of absorption in the paper. We also have to consider how different marker brands use different undertones in their ink. Swatching takes away the uncertainty and builds a “color reference” for your brain and makes your blending a little more predictable.
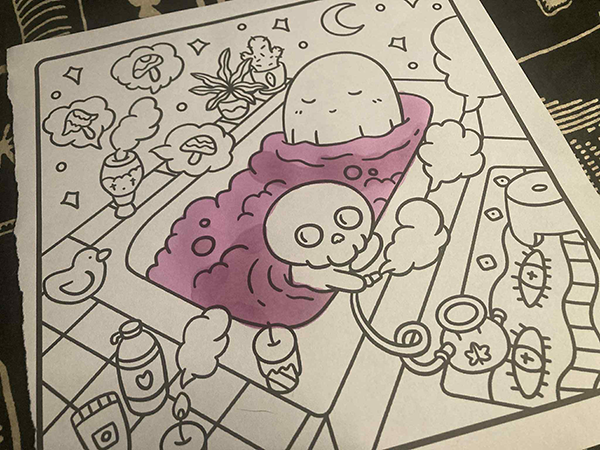
TL;DR: Layer to deepen colors. Papers differ. Markers differ. Plan your project so your don’t **** it up with an impulse decision later.

Read the full story ♥ →
Coloring Tutorials // Holographic Fill Effect
July 6, 2025 by Ajey
Want to add a holographic fill to your coloring masterpieces?? I’m ya girl. Watch and learn. ♥
Choose your weapons:
Alright so gather the things and let’s get to it. Look at your image that will be getting the fill and try to imagine it filled in. Where is your light source? Where’s the highlighted areas? I recommend trying this on that scrap paper before committing this early on.
After figuring out where your highest points of your object are ;] you will be making some shapes to follow what you think it would look like if you light was shining off of it.
Read the full story ♥ →
Coloring Tutorials // Hardcore Basics // Basic Shading
June 22, 2025 by Ajey
We’re just going to go over basic shading to add some depth to our masterpieces. We’ll touch on stippling as an alternative, and how to use complementary colors to enhance the effect.
Choose your weapons:
Alright! Let’s get into it.
Step 1: Get your shit together
First, grab your supplies. I picked a few markers and will build out my palette as I go.
Book Used ♥ Markers Used: Ohuhu, Arrtx, & Shuttle Art
Step 2: Do your basic fills and add some thrills
Fill in your base areas with your chosen colors.
Read the full story ♥ →
Coloring Tutorials // Flat Coloring
June 21, 2025 by Ajey
Basic rundown of how to lay clean and even color with alcohol markers using simply layering. Don’t be a freak with streaks~
Choose your weapons:
Into the thick of it
Step 1: Choose your colors.
Pick your colorscheme for your project. You will want a light/medium/dark combo for each color family typically. I personally enjoy a smaller palette so I ain’t doing all that. I’m using 5 main colors — scheme can be found here.
Tiny Tangent: When I say I use a colorscheme I do not include my neutrals into these. Neutrals in my brain are basic colors such as all eye, hair, skin, varieties unless it’s not natural then i make it a focal point. Control your audience. Make sure your art interests you and chances are it will interest someone else too because hey. You’re fucking cool.
Book Used ♥ Markers Used: Ohuhu Art Markers.
Read the full story ♥ →
 Welcome to Artopsy.net! I'm Amanda Jean or Ajey. However way you want to spin it and I'm here to share as much knowledge as I can. I mainly do written tutorials so I apologize if you prefer video. It's overstimulating for me personally to create them. Can't focus on the art if I'm spending half my time trying to film it >:[